Updo Hairstyles for Long Hair: A Step-by-Step Guide for 2025
Related Articles: Updo Hairstyles for Long Hair: A Step-by-Step Guide for 2025
Introduction
With great pleasure, we will explore the intriguing topic related to Updo Hairstyles for Long Hair: A Step-by-Step Guide for 2025. Let’s weave interesting information and offer fresh perspectives to the readers.
Table of Content
Updo Hairstyles for Long Hair: A Step-by-Step Guide for 2025

Long hair offers a canvas for endless styling possibilities, and updos remain a timeless choice, offering elegance, practicality, and a touch of sophistication. 2025 promises a continuation of classic updos with a fresh, modern twist, emphasizing effortless chic and personalized flair. This comprehensive guide will walk you through several trending updos, providing step-by-step instructions and styling tips to help you master these looks.
Before We Begin: Prep Work is Key
Before diving into any updo, proper preparation is crucial for a smooth, long-lasting style.
- Start with Clean Hair: While some updos work well with second-day hair, for optimal hold and volume, start with freshly washed, conditioned hair.
- Apply a Heat Protectant: If you plan on using heat styling tools (curling iron, straightener), apply a heat protectant spray to prevent damage.
- Add Texture (Optional): Depending on your hair type and desired look, consider adding texture. For fine hair, a volumizing mousse or root lift spray can add body. For thicker hair, a texturizing spray or sea salt spray can create grip and prevent slippage.
- Choose the Right Tools: Gather your essentials: hair ties (preferably clear or matching your hair color), bobby pins (again, matching your hair color), hairspray, a comb, and any heat styling tools you might need.
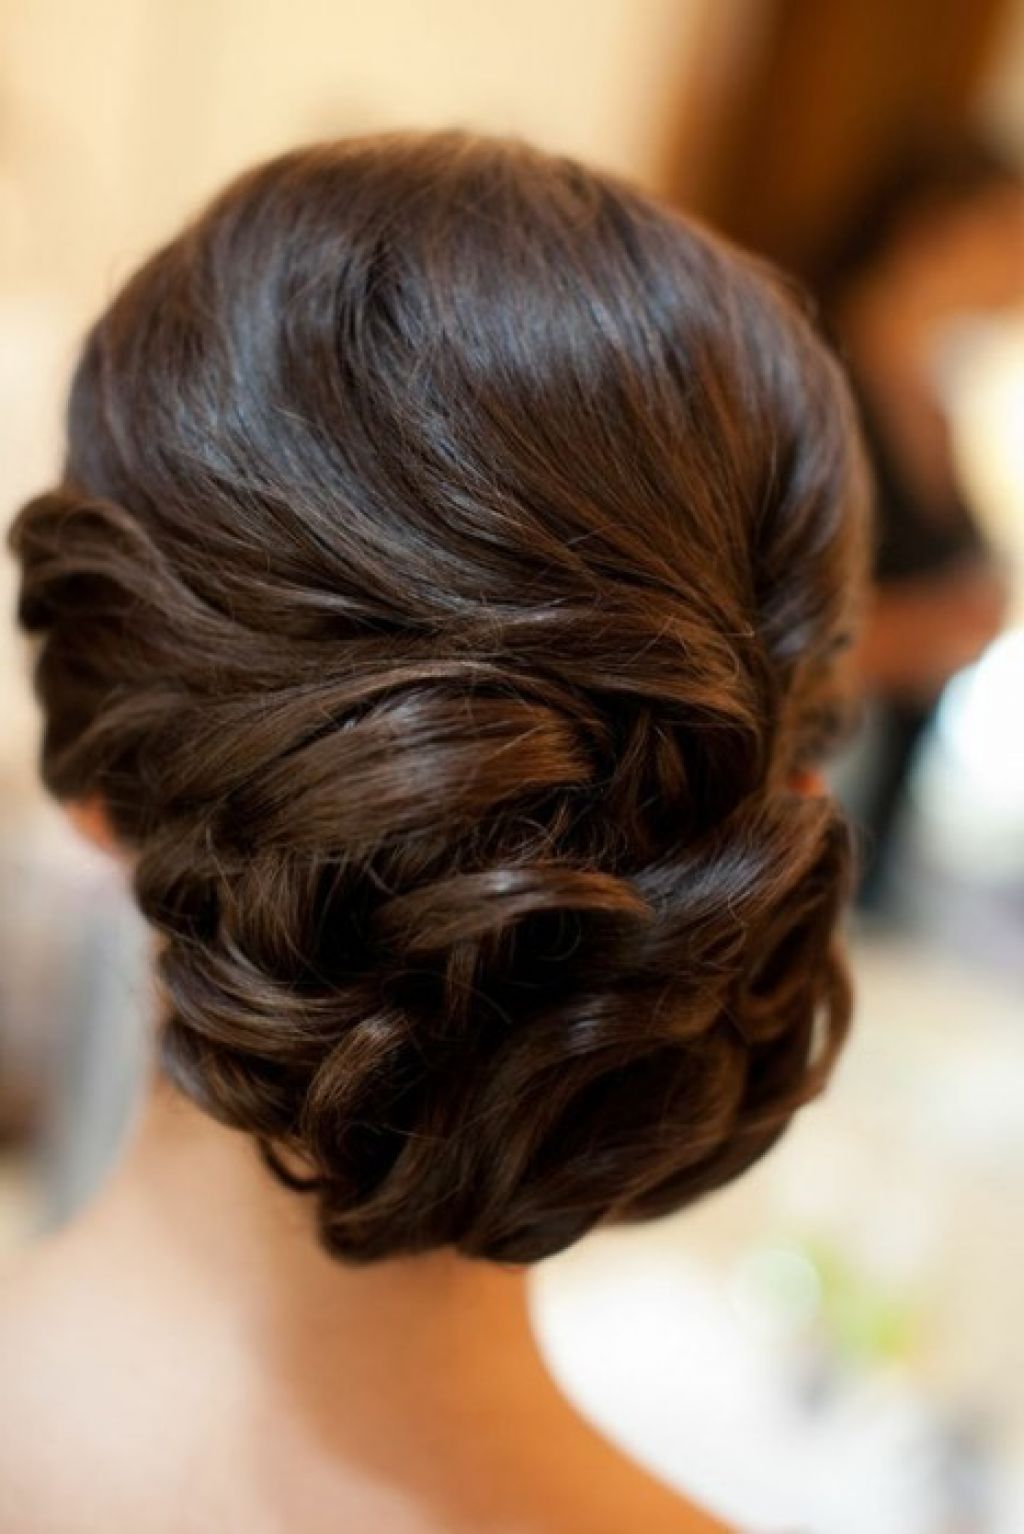
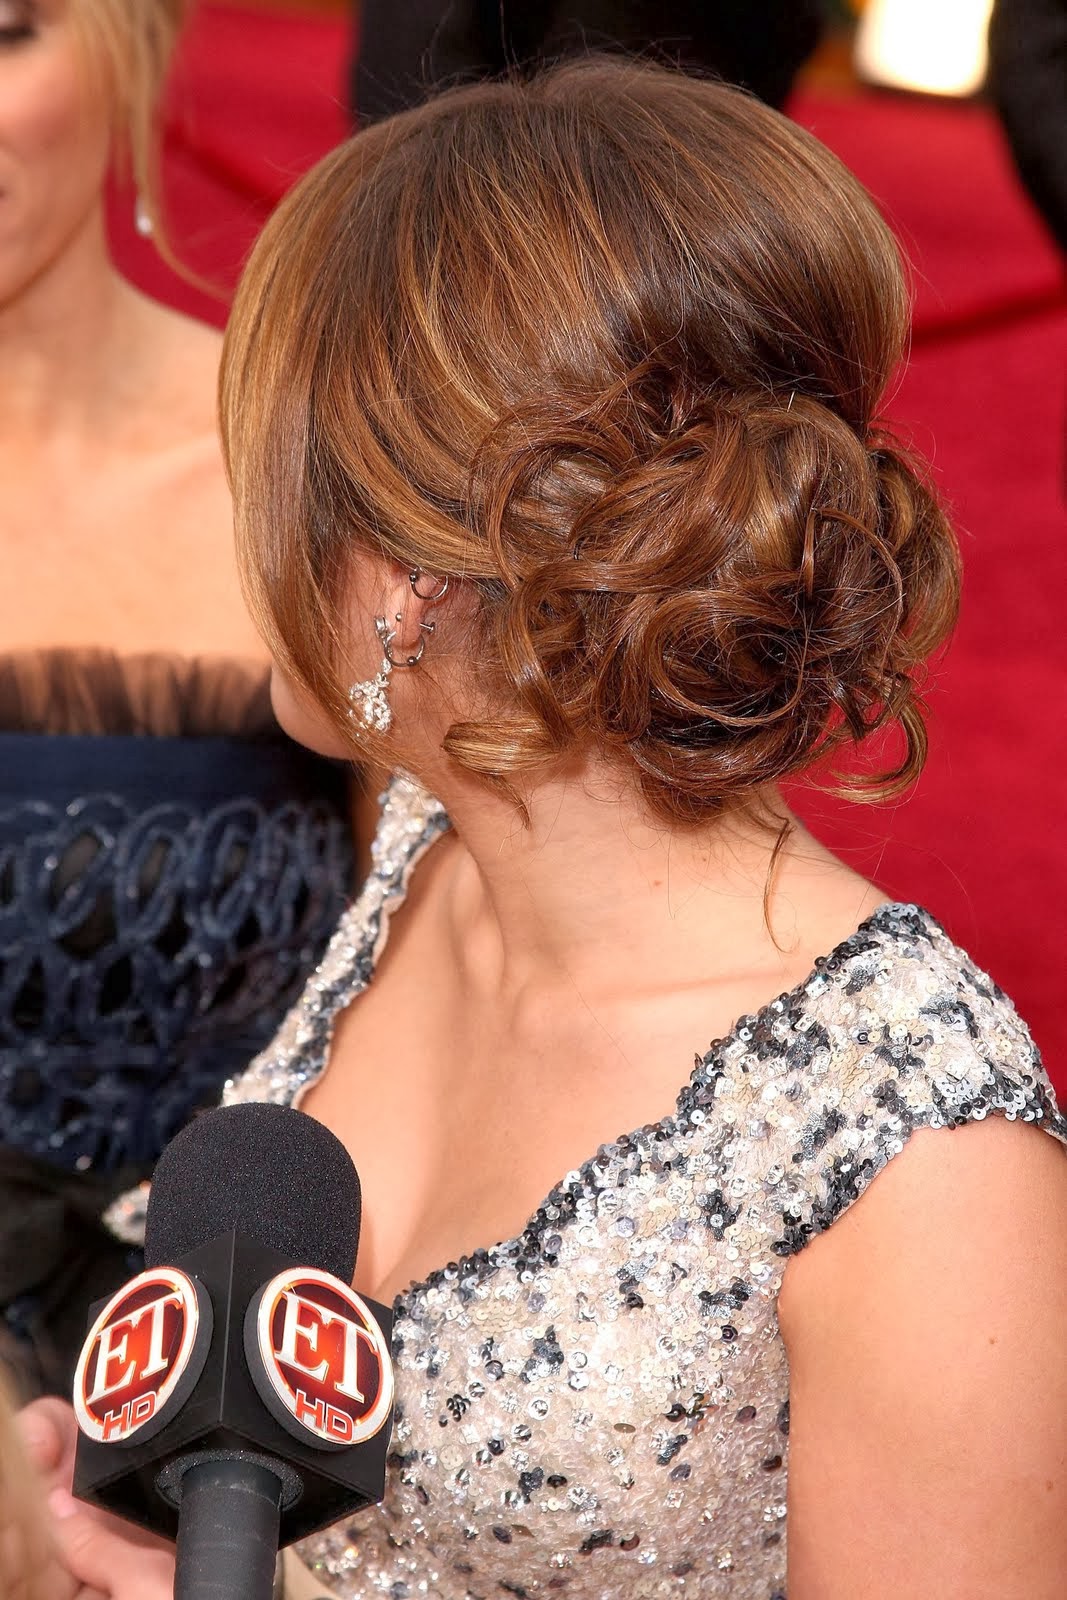
Updo Hairstyle 1: The Effortless Low Bun
This classic updo is perfect for everyday wear or a more relaxed occasion. It’s versatile and can be adapted to suit various hair textures.
Step 1: Prep Your Hair: Brush your hair thoroughly to remove any knots or tangles. If your hair is naturally straight, you can add some waves with a curling iron for a more romantic look.
Step 2: Create a Low Ponytail: Gather your hair at the nape of your neck and secure it with a hair tie. For a more polished look, smooth down any flyaways with a brush or your fingers.
Step 3: Twist and Wrap: Twist the ponytail tightly. Then, wrap the twisted ponytail around the base of the hair tie, creating a bun.
Step 4: Secure with Bobby Pins: Use bobby pins to secure the bun in place. Tuck in any loose ends for a neat finish.
Step 5: Set with Hairspray: Lightly mist with hairspray to hold the style in place.
Variations:
- Messy Low Bun: Leave some strands loose for a more relaxed and undone vibe.
- Braided Low Bun: Incorporate a braid into the ponytail before wrapping it into a bun for added texture and visual interest.
- Decorated Low Bun: Add a decorative hair clip or barrette for a touch of elegance.
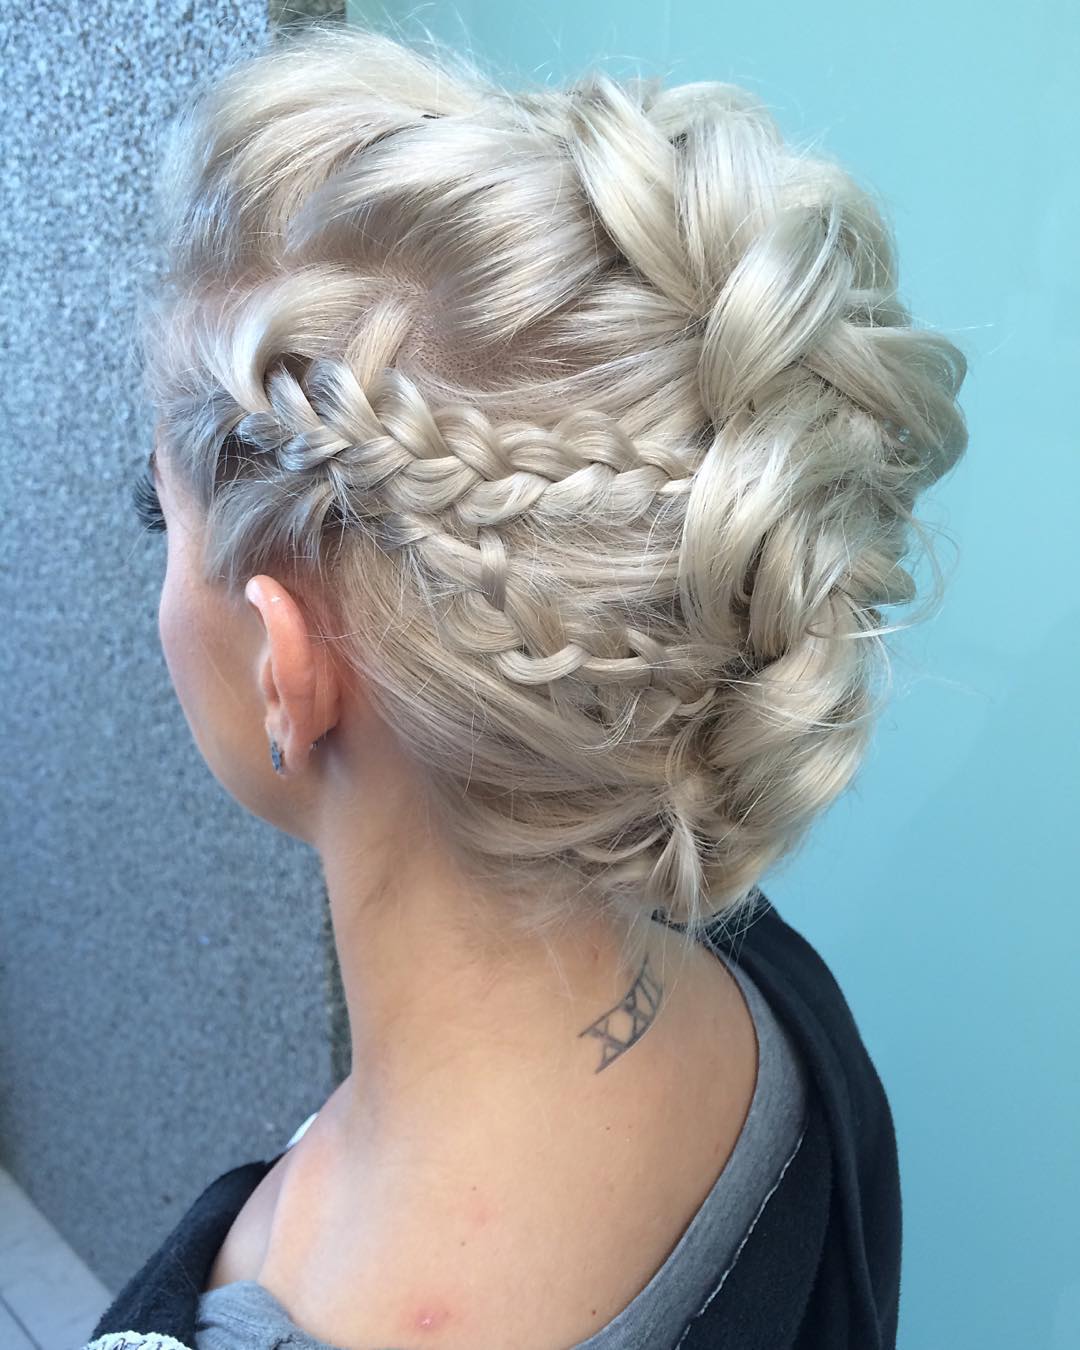
Updo Hairstyle 2: The Romantic Braided Crown
This elegant updo is ideal for special occasions or romantic settings. It’s a bit more intricate but the result is stunning.
Step 1: Part Your Hair: Create a center or side part, depending on your preference.
Step 2: Create Two Braids: Start braiding from the front hairline on either side of your part, incorporating more hair as you go down, creating Dutch braids (braids that sit on top of the hair). Continue braiding until you reach the nape of your neck.
Step 3: Secure the Braids: Secure each braid with a small hair tie.
Step 4: Wrap the Braids: Gently wrap each braid around the head, creating a crown effect. Overlap the braids slightly.
Step 5: Secure with Bobby Pins: Use bobby pins to secure the braids in place, hiding the ends underneath.
Step 6: Finish with Hairspray: Lightly mist with hairspray for a lasting hold.
Variations:
- Fishtail Crown: Use fishtail braids instead of Dutch braids for a more intricate and textured look.
- Flower Crown: Incorporate fresh flowers or decorative hair accessories into the braid for a bohemian feel.
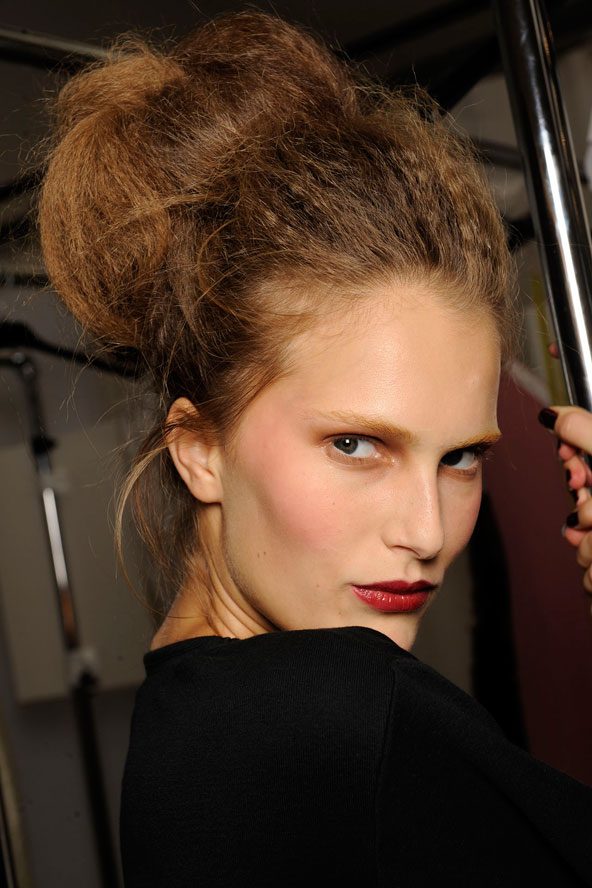
Updo Hairstyle 3: The Sleek High Bun
This sophisticated updo is perfect for formal events or professional settings. It projects confidence and elegance.
Step 1: Brush Your Hair: Thoroughly brush your hair to remove any tangles.
Step 2: Create a High Ponytail: Gather your hair high on your head and secure it with a hair tie. Use a brush to smooth down any flyaways for a sleek look. You can use a smoothing serum to tame frizz.
Step 3: Twist and Wrap: Twist the ponytail tightly. Wrap the twisted ponytail around the base of the hair tie, creating a bun. Tuck in any loose ends.
Step 4: Secure with Bobby Pins: Secure the bun firmly with bobby pins. Ensure the bun is smooth and tight.
Step 5: Set with Hairspray: Use a strong-hold hairspray to keep the bun perfectly in place throughout the day or evening.
Variations:
- Top Knot: For a more modern take, create a slightly messy top knot instead of a perfectly smooth bun.
- Half-Up, Half-Down Bun: Leave some hair loose at the bottom for a more playful and less formal look.
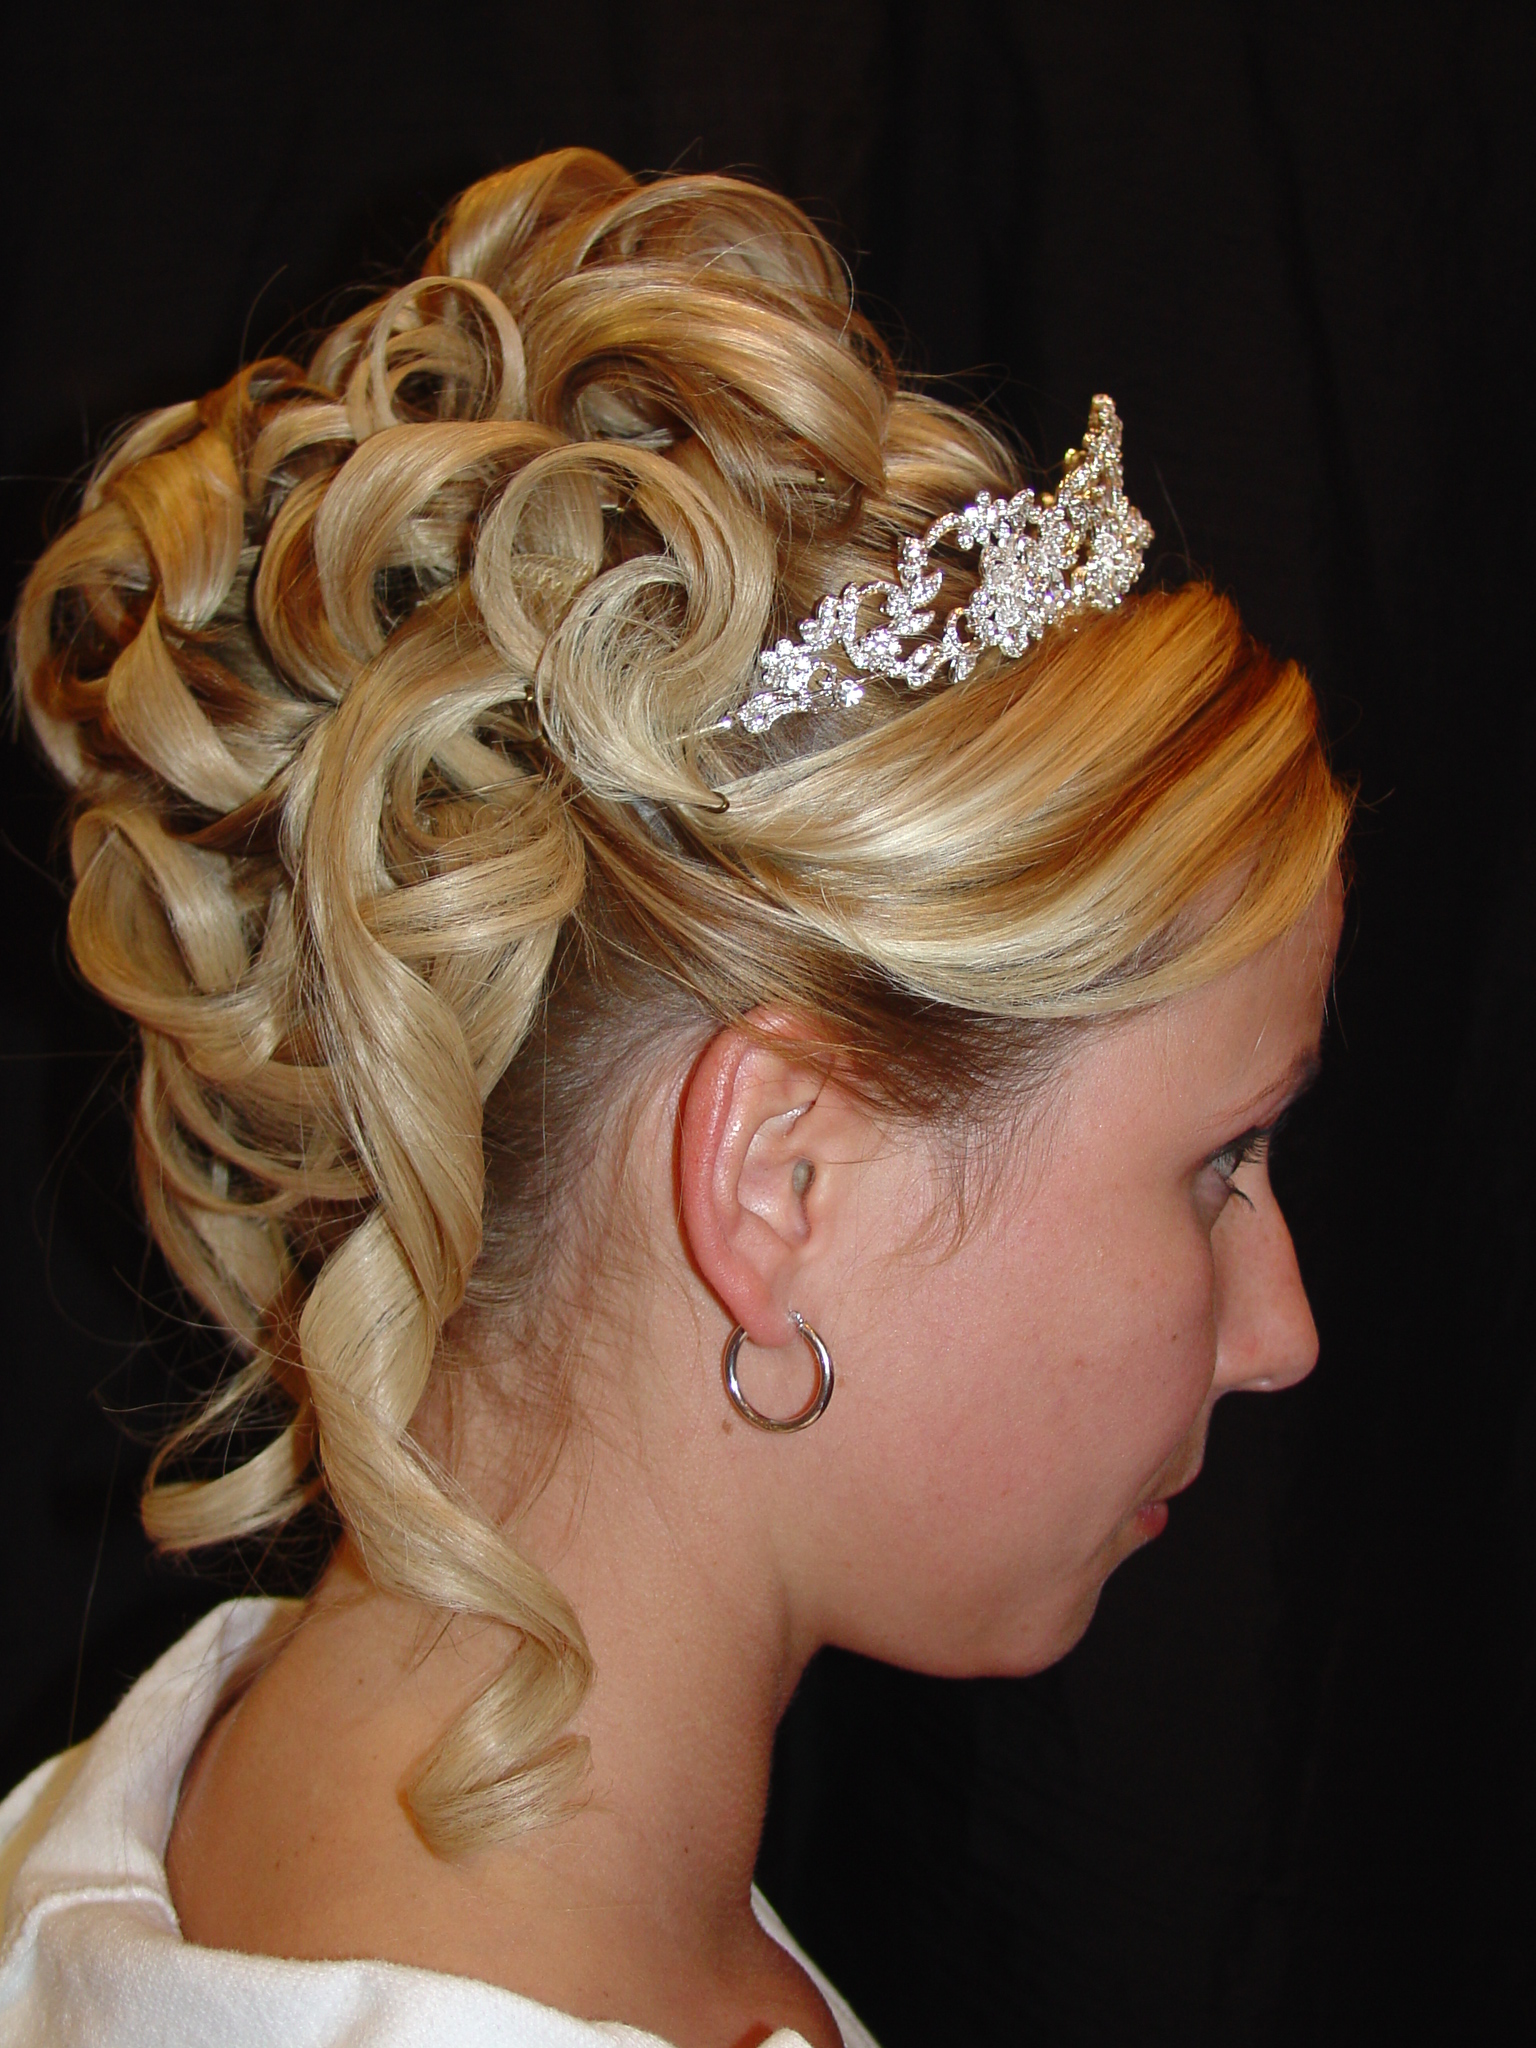
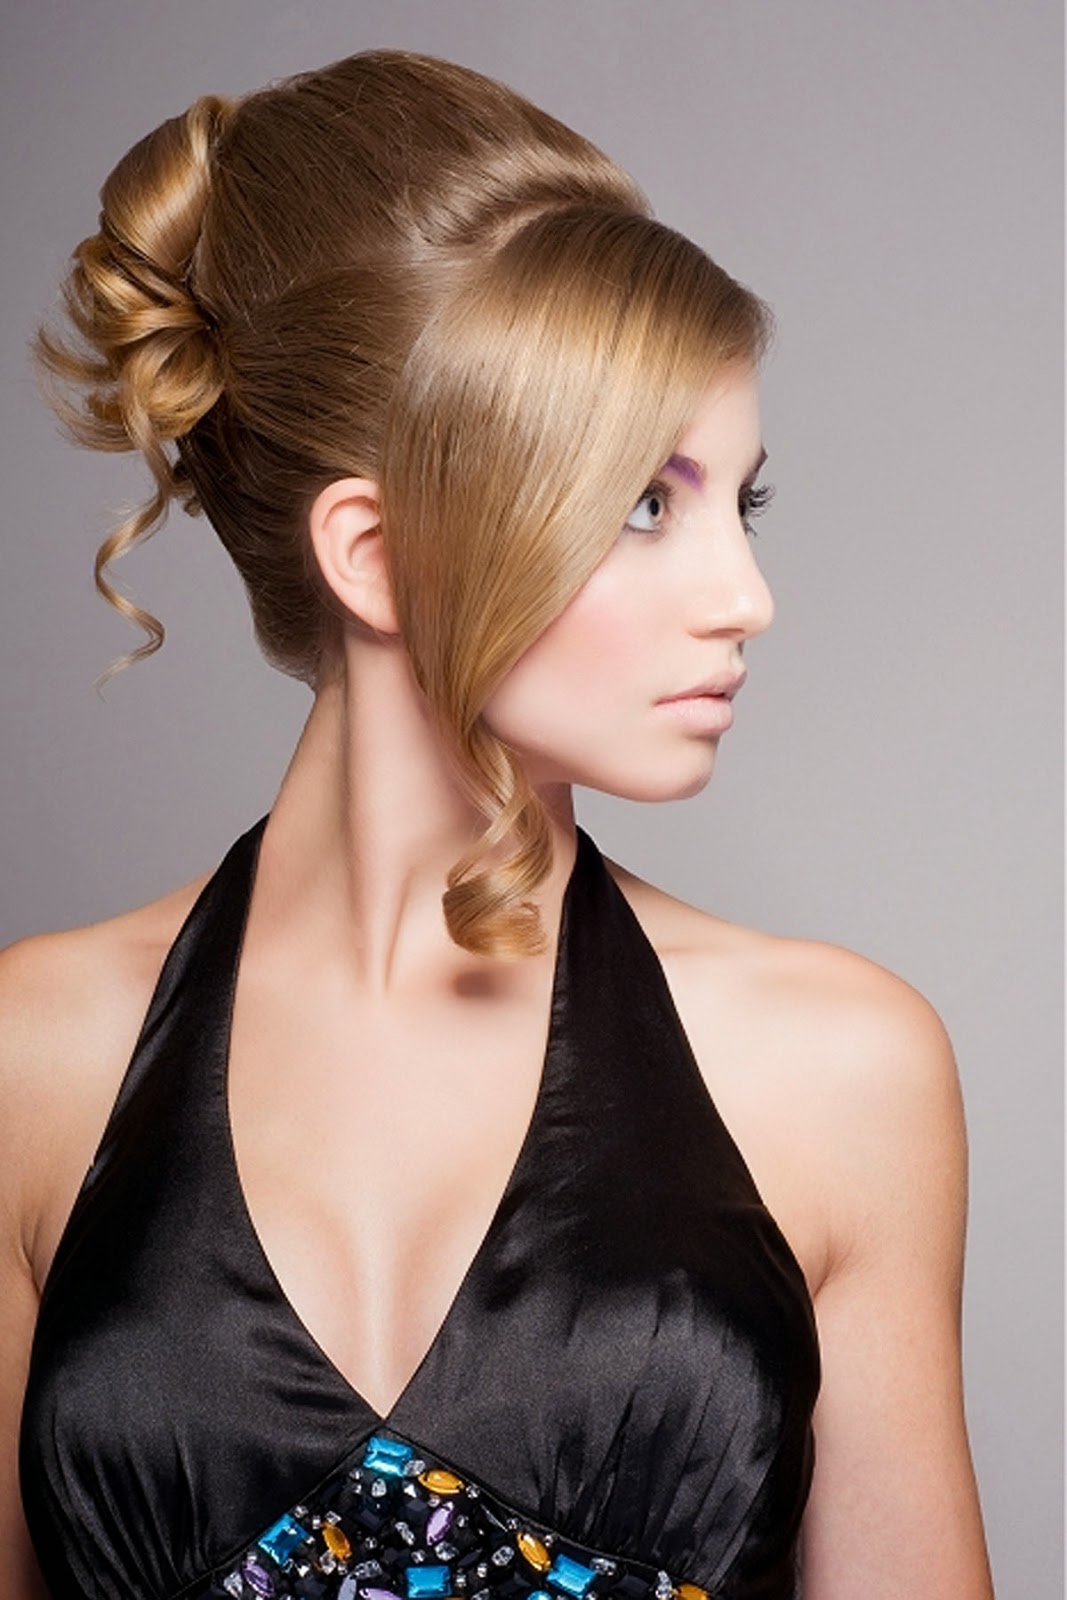
Updo Hairstyle 4: The Elegant Twisted Updo
This updo offers a graceful and sophisticated look, blending elegance with a touch of modernity.
Step 1: Curl Your Hair (Optional): For added volume and texture, curl your hair with a curling iron or wand. This step is optional but recommended for a more luxurious look.
Step 2: Create a Side Part: Part your hair to one side.
Step 3: Twist Sections: Starting from the front, take small sections of hair and twist them away from your face. Secure each twist with a bobby pin. Continue this process, creating a series of twists leading towards the back of your head.
Step 4: Gather and Pin: Once you’ve created several twists, gather the remaining hair at the back of your head. Twist this section and pin it securely.
Step 5: Tuck and Pin: Tuck any loose ends under the main updo and secure with bobby pins.
Step 6: Set with Hairspray: Lightly mist with hairspray to set the style.
Variations:
- Braided Twists: Incorporate braids into the twists for added visual interest.
- Loose Twists: Leave some twists slightly loose for a more relaxed, bohemian vibe.
Updo Hairstyle 5: The Chic Space Buns
This playful updo is perfect for a fun and youthful look.
Step 1: Part Your Hair: Part your hair down the middle.
Step 2: Create Two High Ponytails: Create two high ponytails, one on each side of your head.
Step 3: Twist and Wrap: Twist each ponytail tightly and wrap it around the base of the hair tie, creating two buns.
Step 4: Secure with Bobby Pins: Secure each bun with bobby pins.
Step 5: Set with Hairspray: Lightly mist with hairspray to hold the style in place.
Variations:
- Messy Space Buns: Leave some strands loose for a more carefree look.
- Braided Space Buns: Incorporate braids into the ponytails before creating the buns.
Conclusion:
These are just a few examples of the many stunning updos you can create with long hair. Remember that practice makes perfect. Experiment with different styles, techniques, and accessories to find the updos that best suit your hair type, face shape, and personal style. Don’t be afraid to get creative and personalize these looks to make them your own. With a little patience and the right tools, you can master the art of the updo and create beautiful, long-lasting hairstyles that will turn heads in 2025 and beyond.


Closure
Thus, we hope this article has provided valuable insights into Updo Hairstyles for Long Hair: A Step-by-Step Guide for 2025. We appreciate your attention to our article. See you in our next article!